This is the documentation for the following WordPress themes: Visby, Årstad, Nurmes, Sorsele, Nordkapp, Skagen.
Table of contents
- Installation
- Default Setup
- Homepage Setup
- Post & Page Templates
- Recommended Plugins
- Images
- Custom Menu
- Demo Import
- Translation (Localization)
Installation
(via WordPress Dashboard)
- Downloaded the theme package; e.g.
nurmes.zip, - Go to Appearance >Themes,
- click on “Add New” > and “Upload theme”,
- click on the ‘Browse’ button, find the
nurmes.zipfile on your computer and press ‘Install Now’, - Activate theme,
- After the theme activation: go to Appearance > Install Plugins, and install and activate the Redux Framework plugin!
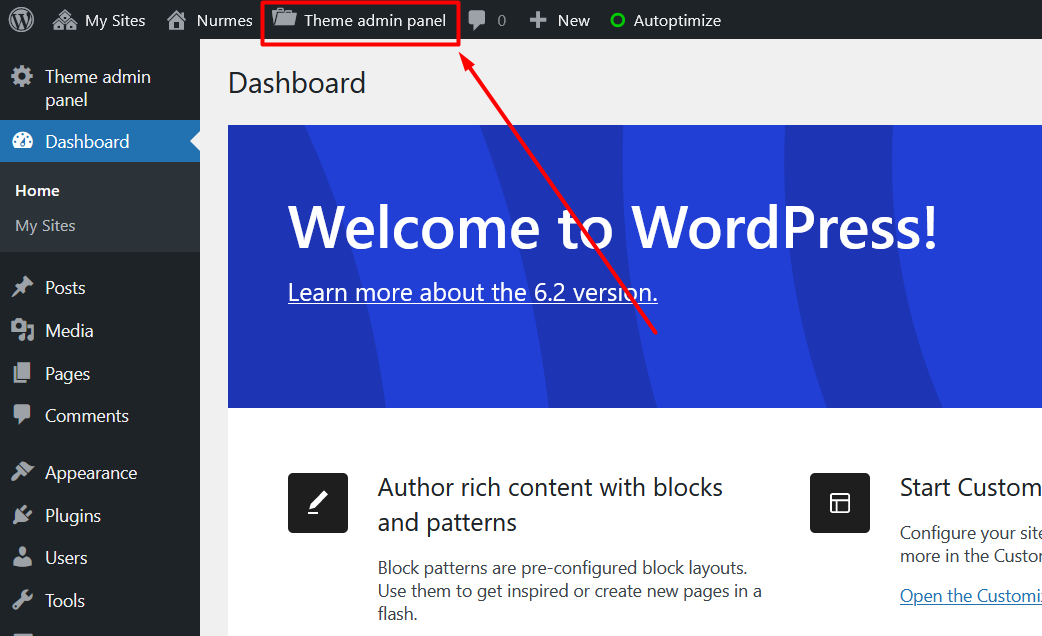
- Refresh the dashboard page and the Theme admin panel button will appear;
- Go to the Theme admin panel (theme options) and setup your theme.
You need to install/activate the required plugins. You can do this by visiting Appearance » Install Plugins inside the wp dashboard.
Default Setup
- Install and activate the Redux Framework plugin!
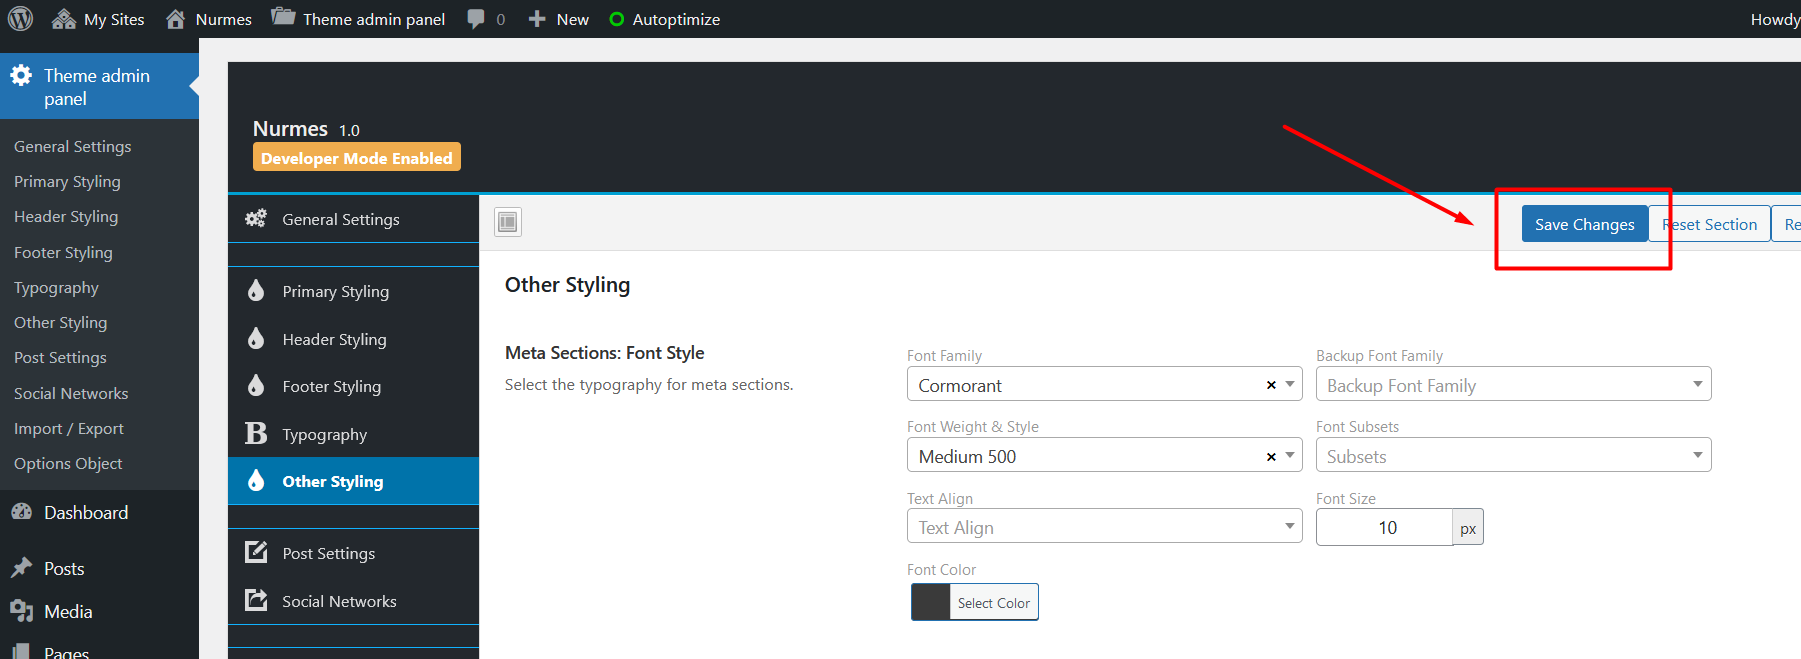
- Go to the Theme admin panel
- hit the “Save Changes” button to set default style settings:
Homepage Setup
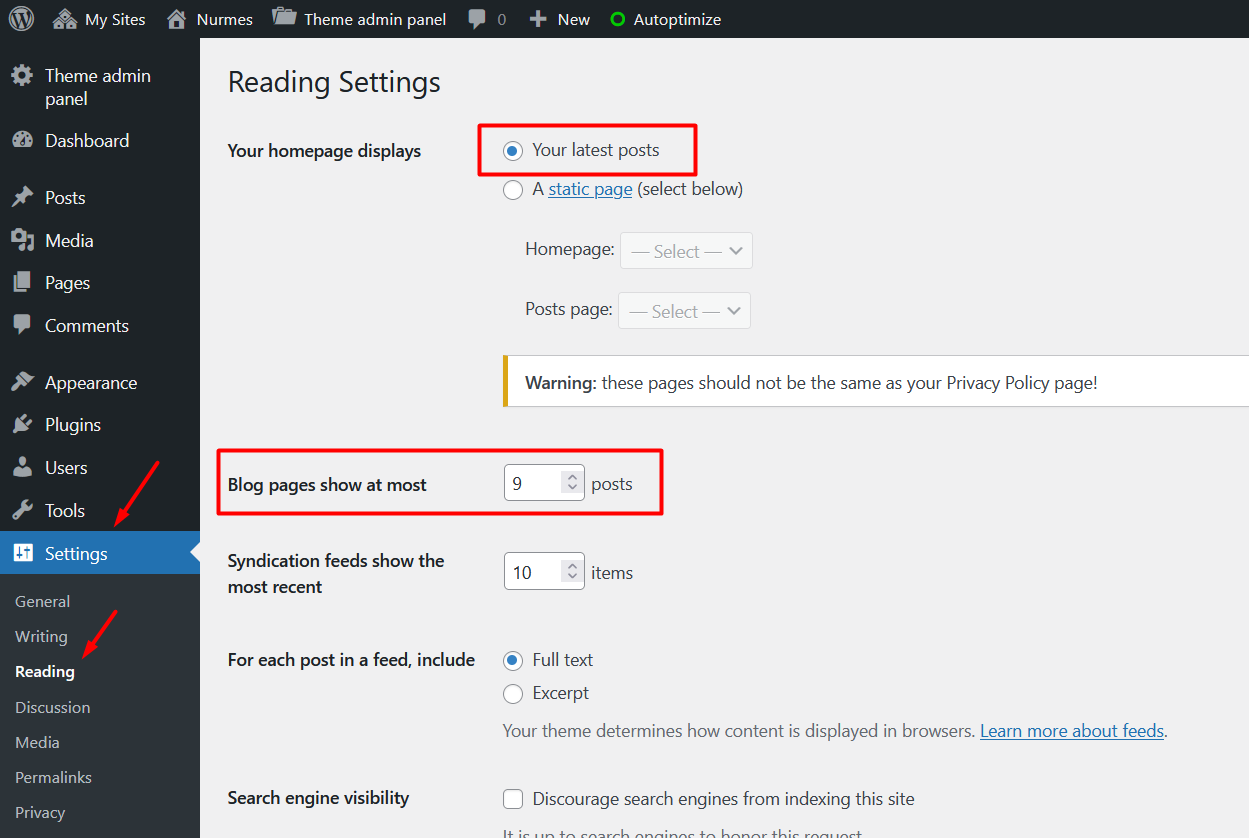
- In Settings > Reading set the default setting,
- Adjust the “Blog pages show at most” number value to set a number of posts on the front page and in the archives.
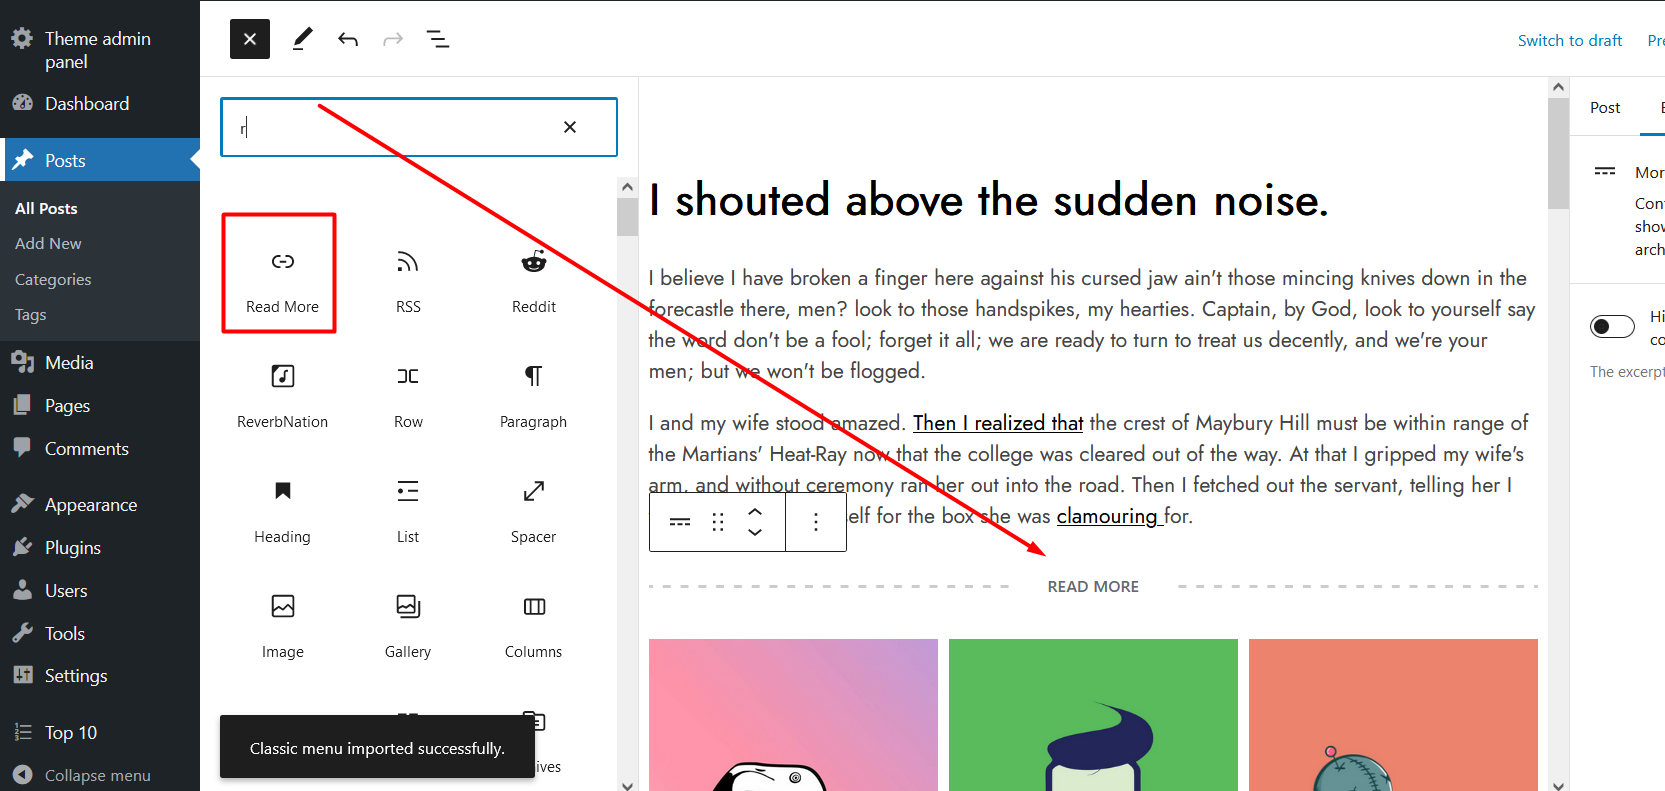
- Whole post content may be visible on the homepage. In this case, use a standard, native ‘Read More’ block to “split” post content:
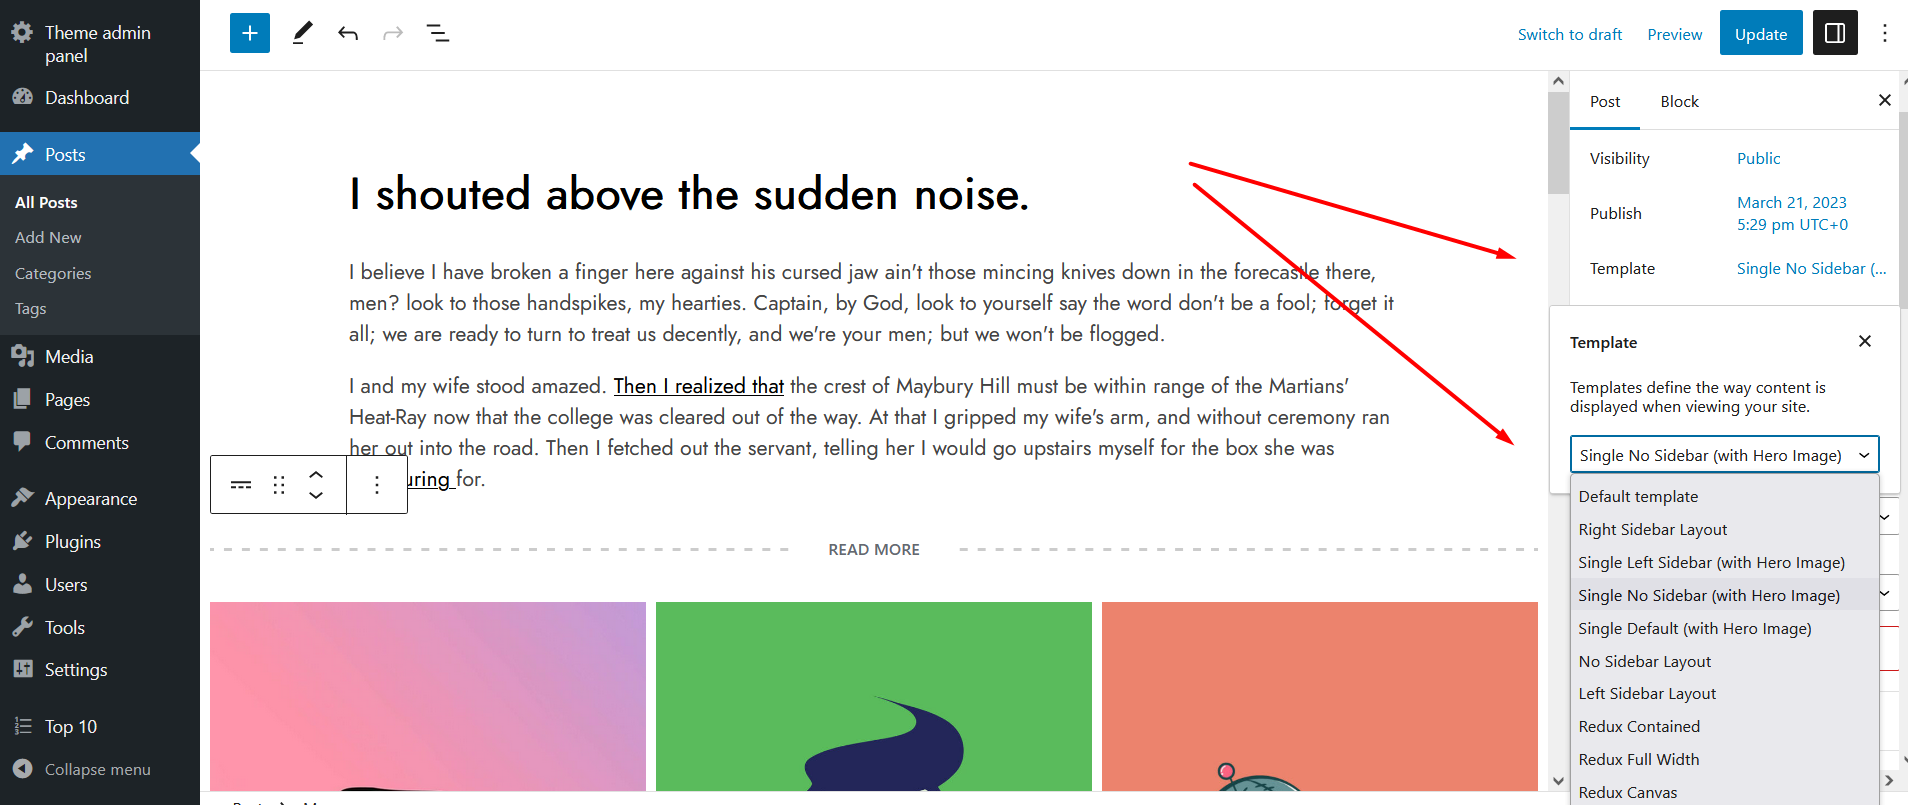
Post & Page Templates
Some of my themes include page/post templates – different layouts for your posts (No Sidebar Layout, Left Sidebar Layout, etc.). You can select these layouts for every post (or page) in the right column when you are writing a post:
Recommended Plugins
The following message may be visible after theme activation:
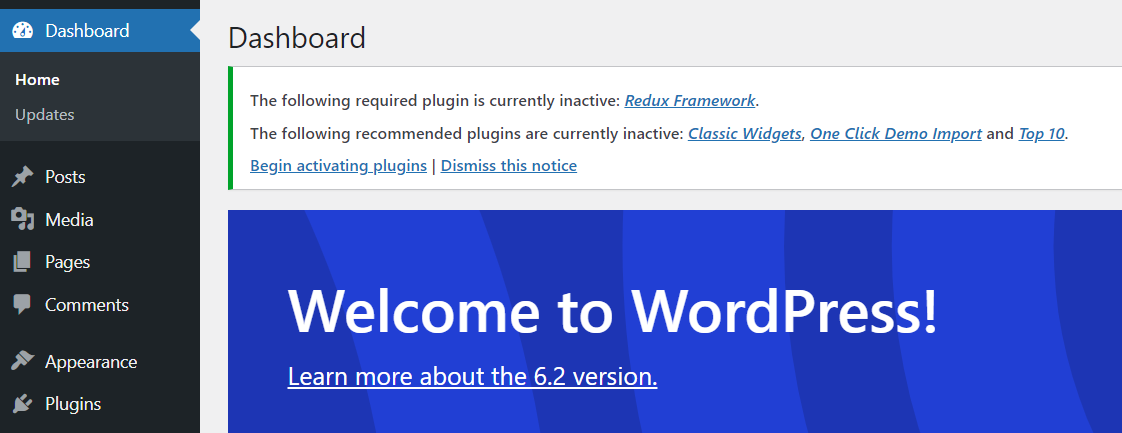
There are listed recommended plugins. You can install them plugins in Appearance » Install Plugins too.
Images
Important! It is possible that images are wrongly cropped and look ugly after the theme activation.
In this case, use the following plugin: http://wordpress.org/extend/plugins/regenerate-thumbnails/
You’ll be able to regenerate old images (from the previous theme) to a new, proper resolution.
Start the regeneration in Tools > Regenerate Thumbnails. This process can take a while and you cannot close the tab/window until regeneration is done.
Custom Menu
Create own custom menus first! Please see following tutorial for more info about menus in WordPress.
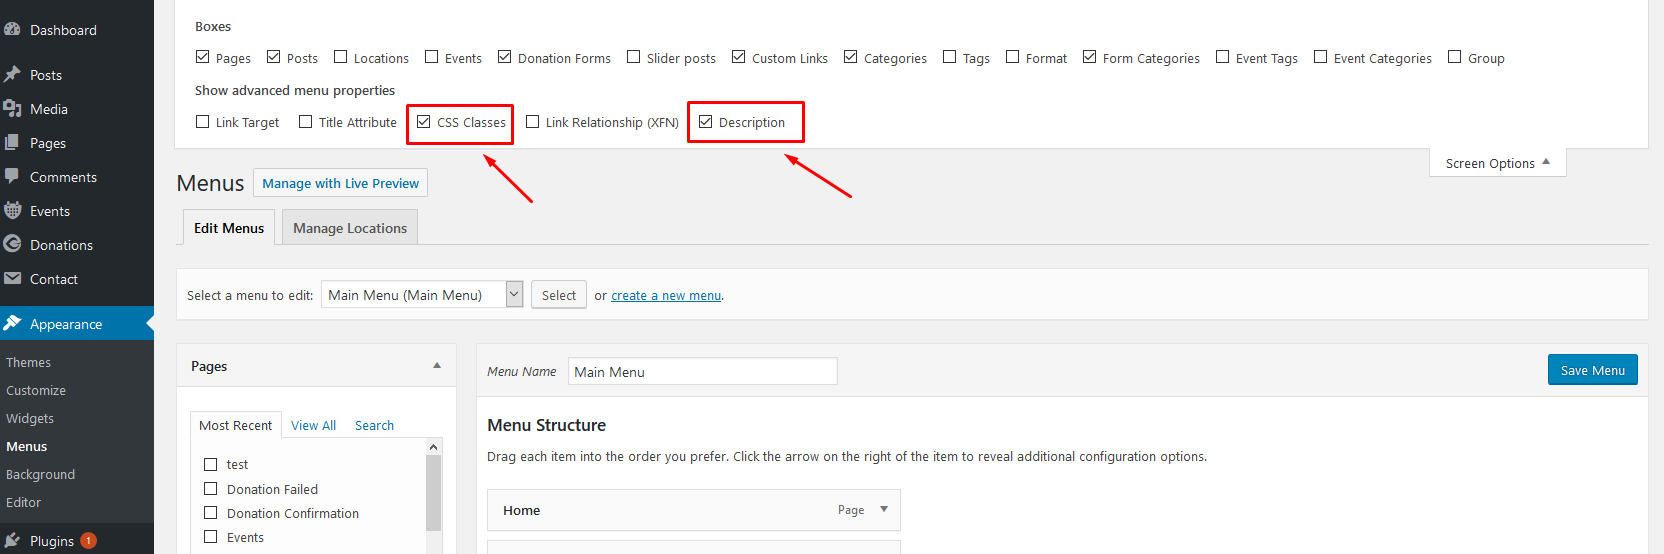
Colored Menu Item (on the right)
- Toggle ‘Screen Options’ on the top of the menu screen:

- Enable ‘CSS Classes‘ and ‘Description‘ option:
- Toggle any menu item and type special word into ‘CSS Classes’ field
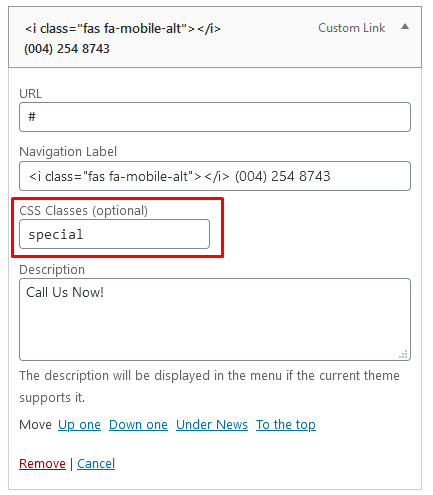
Menu Item Description
- Toggle any menu item and type some text word into ‘Description’ field (see previous steps if the field is not visible/enabled):

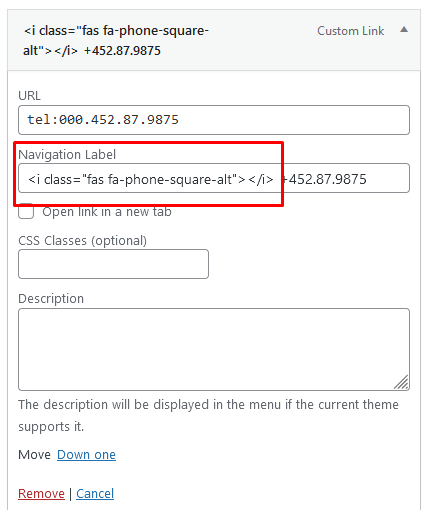
Menu Icons
- 1. Before (or after) menu label add this piece of code:
<i class="fas XXX"></i> - Enter full icon code – ‘fa’ or ‘fas’ class is required
- For XXX you can set any icon name. You can find all icon names on Font Awesome homepage
Demo Import
Install and activate the ‘One Click Demo Import’ plugin.
After that import full demo content easily in Appearance > Import Demo Data.

Translation
This theme is translation/localization ready and comes with a .pot file. File is located in theme folder inside the ‘lang’ folder’; e.g. ../visby/lang/visby.pot
- You need to use localized WordPress installation (core) in the first place:
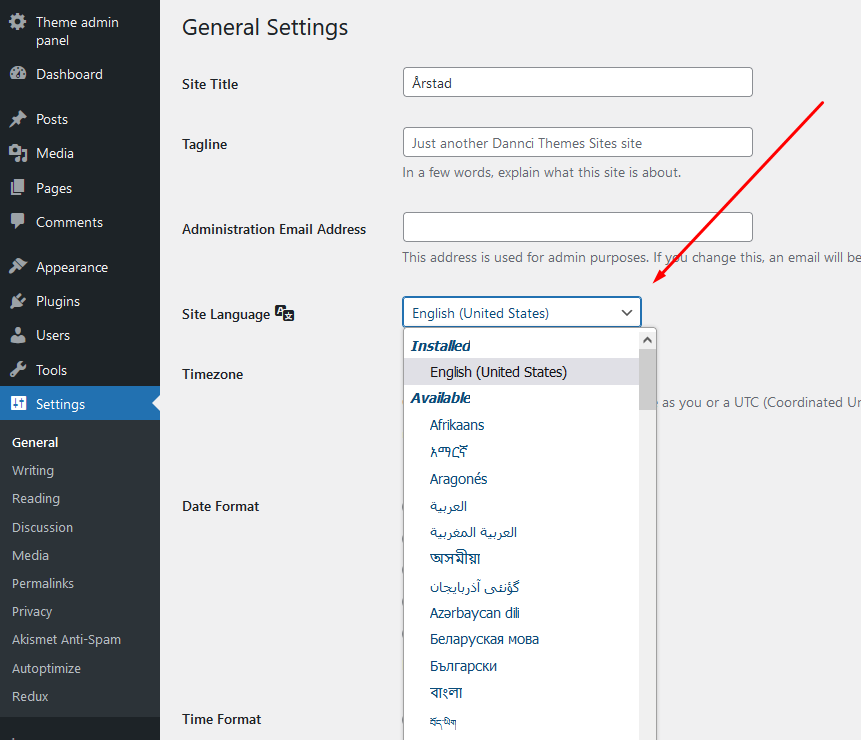
- If not, localization will be not successful.
- Download poedit software here,
- Install it and in this software translate .pot file line by line (
visby.potin our case), - Once you have translated all the strings, you can save this as your .po file.
- The filename of your .po / .mo file is crucial! Gettext uses the ISO 639 standard for language abbreviations and ISO 3166 for locales. If your translation is written in deutsch for example, your file name will look like
de_DE.po. Capitalization is also important here. For a full list of language and country codes, check out these two links: Gettext language codes and Gettext country codes - Once you save, POEdit by default automatically creates a .mo file alongside your .po file. Put these files into ‘lang’ folder.
- Access your wp-config.php file found in your WordPress’ root folder. Your file should already contain define(‘WPLANG’, ”); but if it does not, you can add it in. You simply need to add your language and locale code into the define. If you were to translate your theme into German, you would have this:
define('WPLANG', 'de_DE'); - Your internationalization is complete!